Saturday, December 13, 2014

YZ Yamaha Engine Color Match

Yamaha YZ Engine Color Matching


I needed to update this prior build as color matching the paint on the silver engine was a search. Dupli-colors color rite shows a satin silver metallic #1 as Yamaha 5962 SM1 660 for a part number. However, on my lengthy search at different automotive parts supply stores not a single one had it. O'Reilly parts did try for about thirty minutes to find it for me in the system to no avail. Okay then, the clerk went with me to the paints as we tried to match something close. What I finally chose, that came very close, is the Color-rite BCC0338 Radiant silver metallic that is a Chrysler color. Doing a test spray it came very, very close to what was already on the engines stator cover. Even the miniscule metal flakes match up to the original (after some good scrubbing of what was left of the original to clean it) and after a week or so the paint seemed to blend in with the rest of the engine after run in.


You can see best to the right of the picture what is left of original color below which helped to match the color.

Below is the finished cover after the already mentioned in an earlier post of the repair of the cover. If you are restoring an old Yamaha and need the engine paint then you should be happy with the results of the Dupli-Colors Color Rite. Happy rebuilding.

Sunday, July 27, 2014

YZ80 1990 Before & After

Before & After Pictures
Just some comparison pictures to see the progress. Takes about two months from start to finish, we can do yours for you.


The seat graphics are in now and still need to put them on the seat yet.

Saturday, July 5, 2014

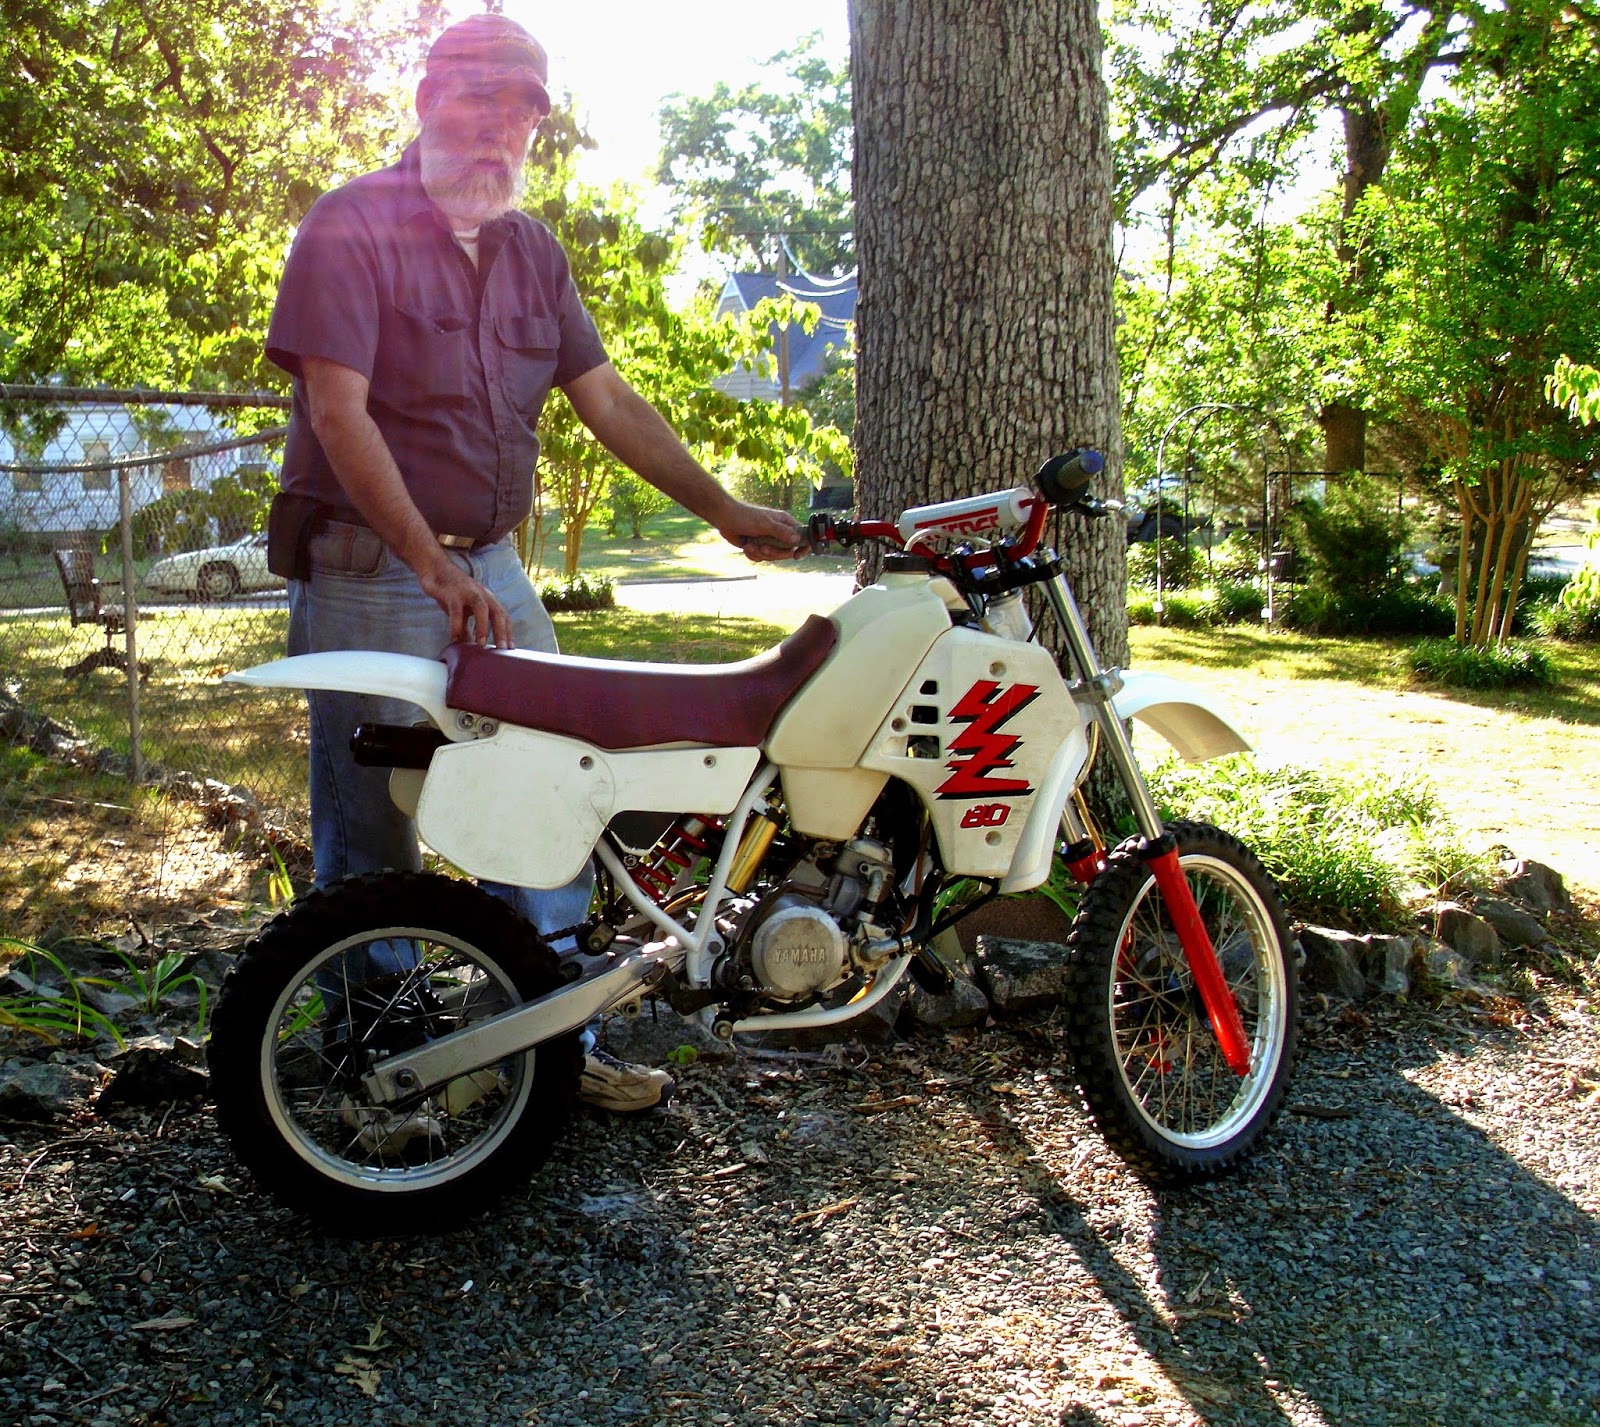
The YZ 80 Project is Finished.

The 1990 YZ 80A is Completed


Well, we got this little project completed and ready to go.
Worked late into the night of the fourth of July for it's rebirth.

All that's left to do, or not do, is put the number plate back on. The brakes stop you good and quick.

Put a couple of cable ties on after taking the pictures. Didn't much like that clutch cable rubbing on the fender I spent long hours on getting scratches out, smoothing and polishing.


Better looking correct style shift lever to replace the bent incorrect one that was on it when we got it.
 

The new chain shows off well with the new sprocket and chain guards in place.


Cleaned up the electrics as well.  Seemed like each time we tried to move faster on reassembly we found something we needed to spruce up, but it was well worth it.


Not a great picture with the sun behind me, but doesn't the bike look great? On to the next one to breath more life in to. It will be on the pages here soon. Time for a nap. zzzzzzzzzzzzzzzzzzzz

Thursday, July 3, 2014

YZ 80 Chain guides Installed

Swing arm Chain Guides


This little gem was tough to find but John Rayle of Superfly Cycles in Burlington NC was able to track us one down. John has been a big help in finding parts we needed for this project.
Part # is 1LR-22151-00
 

Back shot of same part.

Installed on swing arm along with cleaned and polished bolts - would have looked terrible with the old crusty before being cleaned bolts - and lower black chain guide.

Farther away picture of same mounted part, show looks great with the new painted frame.

This is the rear sprocket chain guard also with cleaned and polished bolts. It still had plenty of life left in it so we cleaned it up for reuse.

Wednesday, July 2, 2014

YZ 80 is 95% Complete

YZ 80A Project Nears Completion

Made a lot of progress despite the extreme heat.

Roughly around fifteen more pieces to be reinstalled on the bike, the new sprockets look great but naked without the guards and chain. Was informed today that that hard to find guard is in and all I need is to grab it and the chain.

most pieces still to be installed are the larger parts like rear fender, exhaust, Fuel Tank, number plates, hand controls and such.

We opted out on repainting the fork legs and there is that elusive factory silver sticker with brake specs on the lower leg that can be seen in the photo on the right. Just can't seem to find that any place.

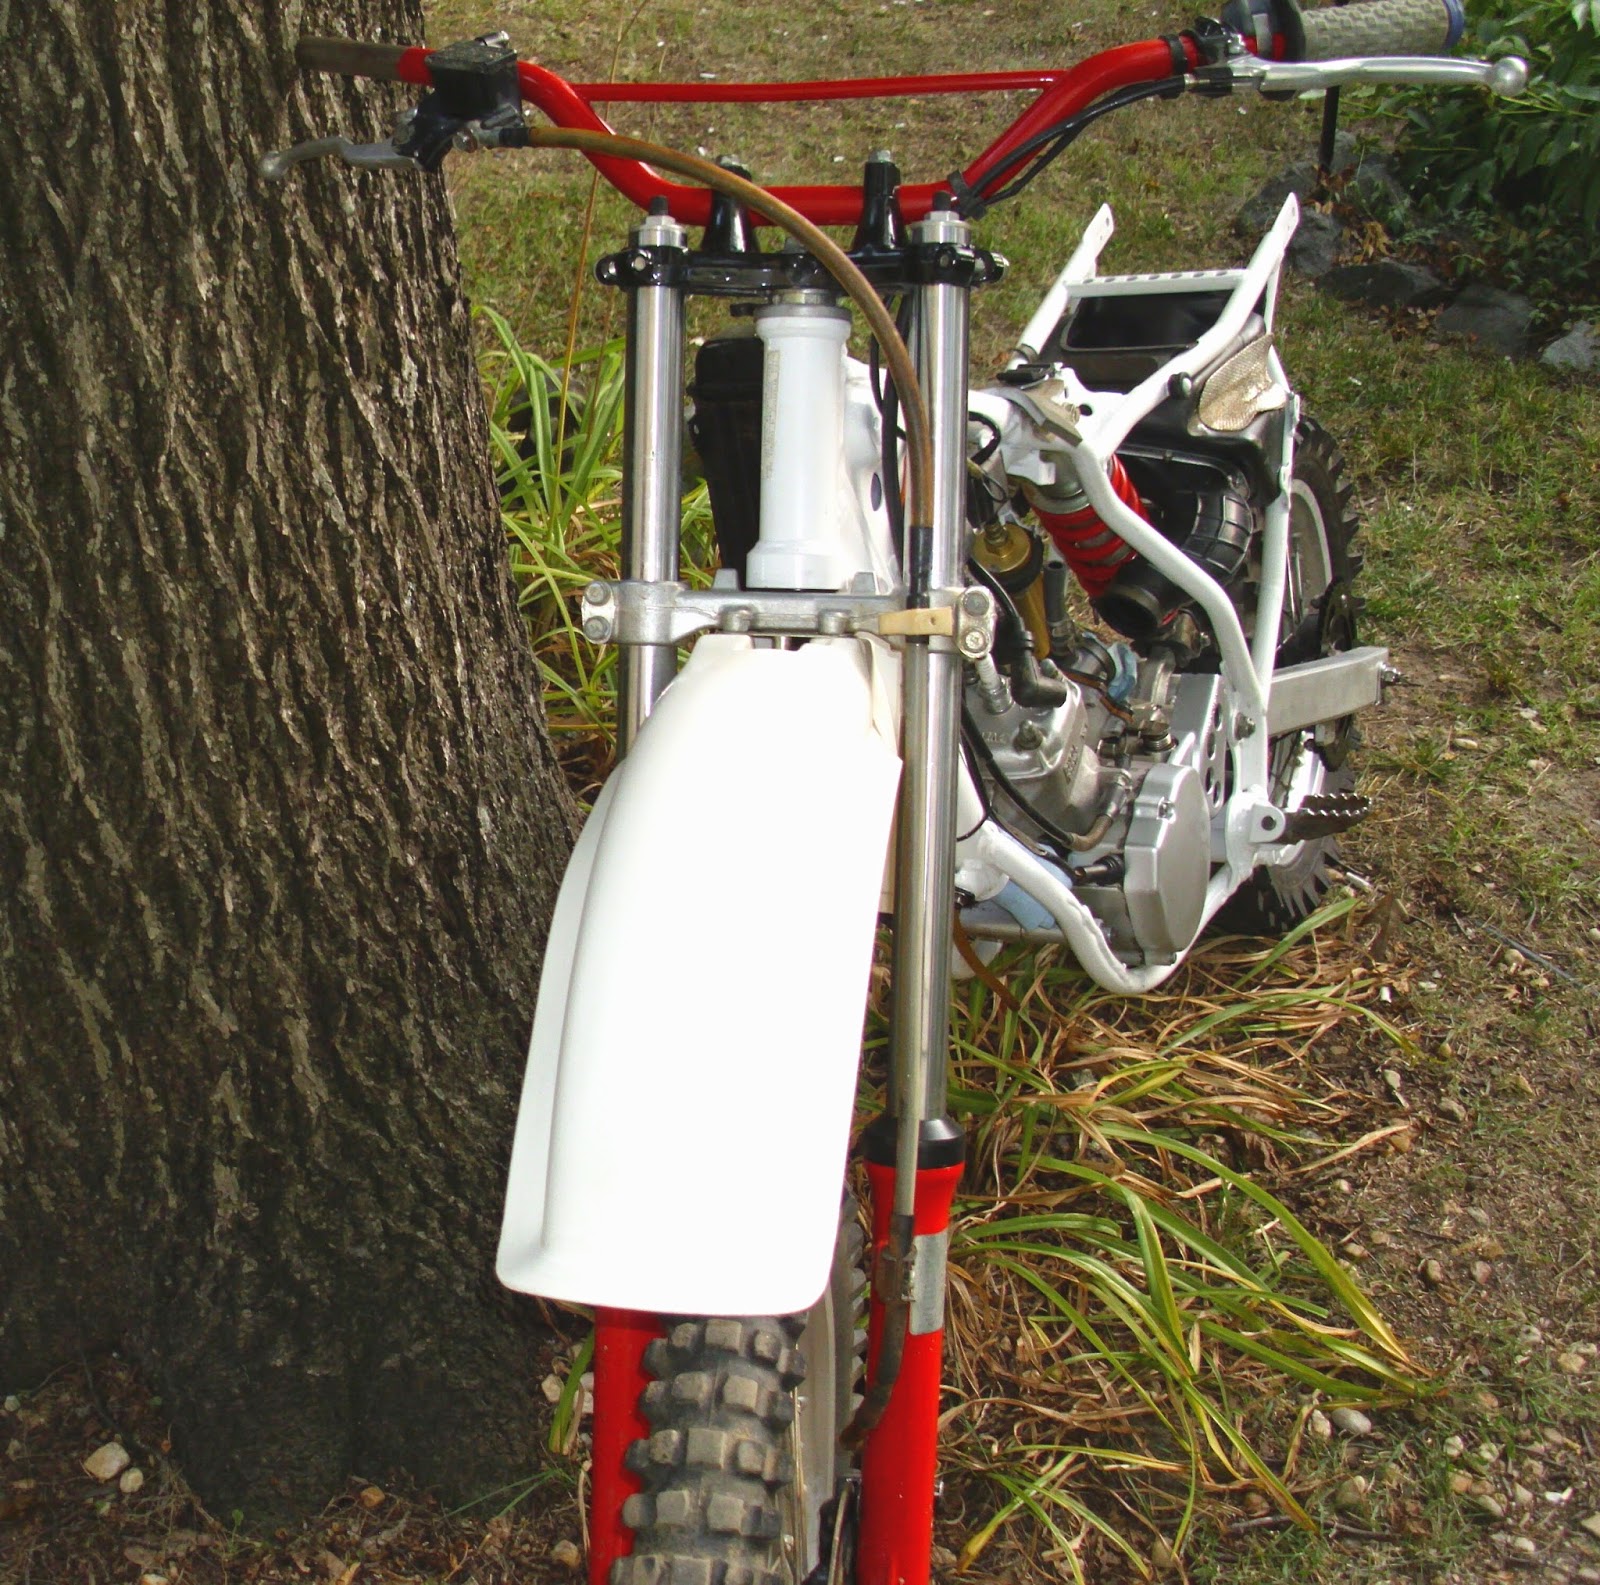
Just a shot from the rear, the radiator cleaned up fairly well and could look better if coils were painted although but the rest of it is fine. Pleased with the handle bars but won't be adding the sand back to it. In case your wondering about sand in your handle bars, the packed sand is an old trick to reduce vibration and to aid in reducing bending if you happen to crash the motorcycle. Don't use dirt as it will hold water where as fine sand dries out fast and packs tight.


The upper hole at the shock mount is for adjusting your suspension by relocating the shock into that hole. Wonder whose won more races on different type tracks knowing that little geometry change.

Saturday, June 28, 2014

Motorcycle - The Mundane Side Of Refurbishment

Restoring a Motorcycle and the mundane parts


Maybe I'm being a little bit anal about this refurbishment/renewing/restoration of this old dirt bike. Each time another part goes on I find myself not being able to just slap it back on without at least trying to make it look some better.
Below is a case in point - the engine mount bolts. When reinstalled no one is even going to see the shaft of the bolt, all that will be seen is the bolt head and nut but the shaft had some grungy look and a little of the aluminum funk from the engines mount through hole, you know the oxidation powdery substance when aluminum begins to "Rust" and it was left on the bolt. So, it was polished and coated with metal wax protectant and it even made inserting back through very easy. Nobody would ever see it or know had it been left alone except me.  

Got the radiator guard all nicely redone and cured prior to reinstallation today.

Sprockets, the original one's were just to used up when going this far with the build so a new one was put on today,

and the counter sprocket was also replaced and installed today.

Just a back picture so people can see it for reference. Still waiting on the new chain and swing arm bushing guide but we'll keep moving forwards.
Actually got pretty far on reconstruction today and hopefully will have more to share tomorrow.

Wednesday, June 25, 2014

Making Old YZ80 Wheel Spokes Shine

Making Older Spokes Look Better.

I don't know, maybe you can tell from these pictures, maybe not, but they look a ton better in person. First picture shows how dull the YZ80 spokes were before cleaning up a little.


Here is one of them done with the rest still dull.


I may should have chosen a better spot in the light to get these other two pictures of spokes cleaned up. This is the sprocket side...

and this is the brake side. Cleaned up the rims as well.

Here are some shots of my antique Ironhead front wheel done same as the YZ,

Rim, spokes and forks all re-shined up. It is a time consuming project but well worth the effort. Just need to work on the spoke nipples on the YZ80 wheels to be happy with it.